How to Create PayPal Invoice on Sendbit: One of the distinguishing features of the MysendBit app is the ability to create a PayPal invoice.
On SendBit, you can receive your pay for work you did for a client in your naira wallet instantly, whether you are a businessman, an individual, or a freelancer from anywhere around the world.
Interesting right?
Yeah, but here is the thing…..
Most users, especially new users or first-hand users, find it difficult to create Invoices even with the user-friendly interface. So, instead of reaching out to the support system, which can be time-consuming, we have decided to help.
Here, we will walk you through the seamless process of creating a PayPal invoice on SendBit. Carefully follow this guide, and you will be glad you did.
Table of Contents
Who Can Create PayPal Invoice on Sendbit?
Once you are a user, you can create a PayPal invoice on SendBit. And what makes you a user? You become a SendBit Unser if you have created an account on SendBit.
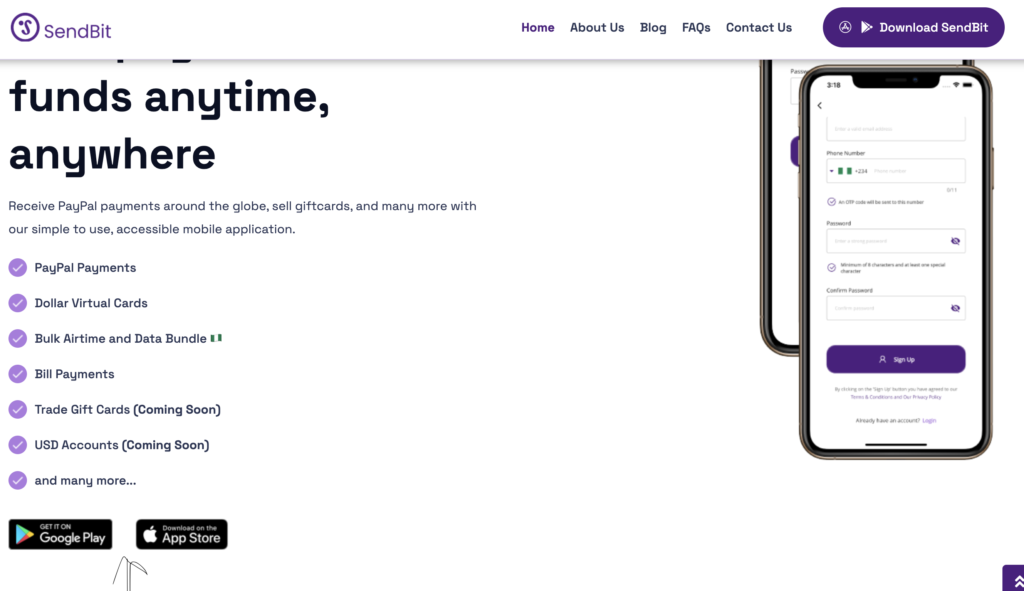
Whether you are an iOS or Android user, you can create an account on SendBit. To do so, visit Www.mysendbit.com. Then, you will see the option to download it from the Google Play Store or App Store.
Google Play store is for Android users, while Appstore is for iOS users.
Read Also: Sendbit App Reviews: What is Sendbit App
How to Create PayPal Invoice on Sendbit
Once you have an account, creating a PayPal invoice on Sendbit is easy. But if you haven’t created an account, click here to learn how to create one in 4 minutes.
To set up your account, you must provide your:
- Unique username
- Legal First name,
- Legal Last name
- Phone number for receiving OTP
- Unique Password
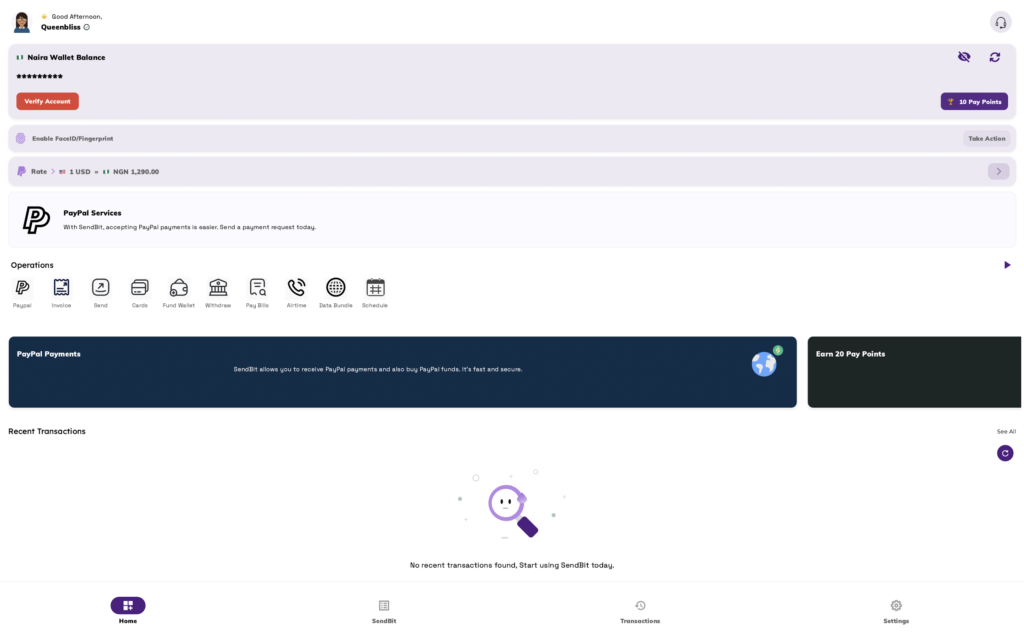
Once you have provided all the information and followed the steps to the latter, you can view your dashboard. From your dashboard, follow the following steps to create a PayPal Invoice:
Step 1: Click on Paypal
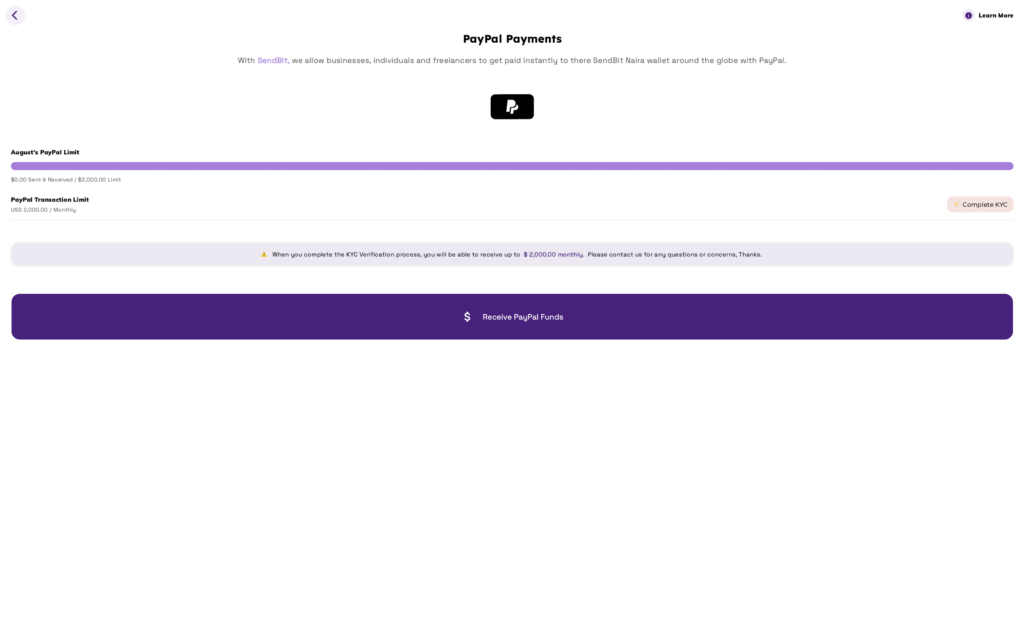
Once you are in your dashboard and want to generate a PayPal invoice, click on PayPal. Then tick the term of condition option and tap the ‘Start Using Paypal service’ option. Note that with this option, you can receive your payment instantly on SnedBit from Paypal.
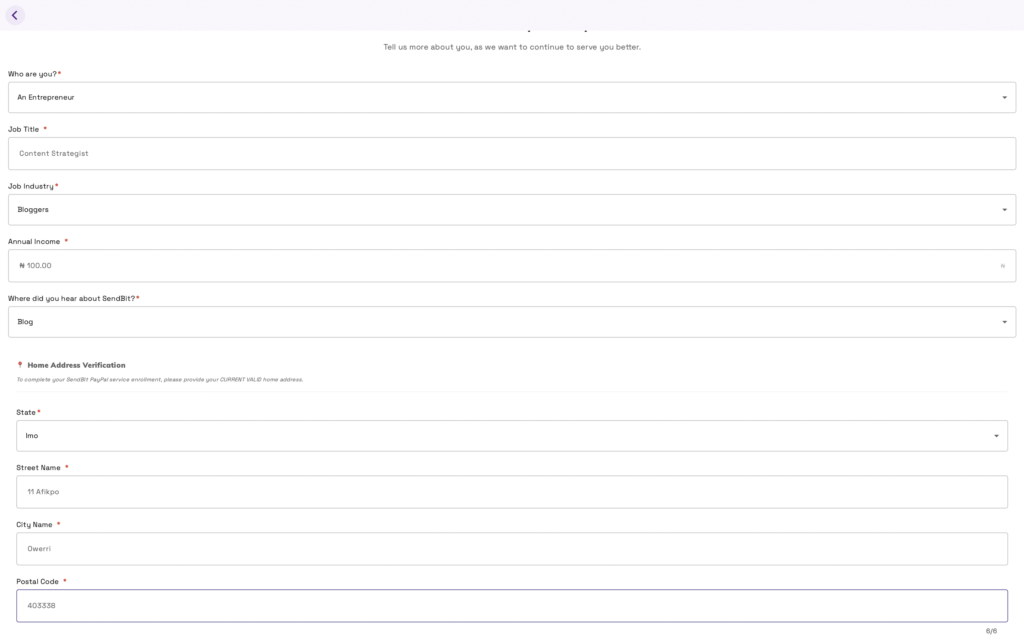
Step 2: Fill the Form
The next step is to fill out the form. In filling out the form, you will be required to provide the following information:
- Who are you?
- Job Title
- Job Industry
- Annual income
- Where did you hear about SendBit
- Home Address Verification:
- State
- Street Name
- City Name
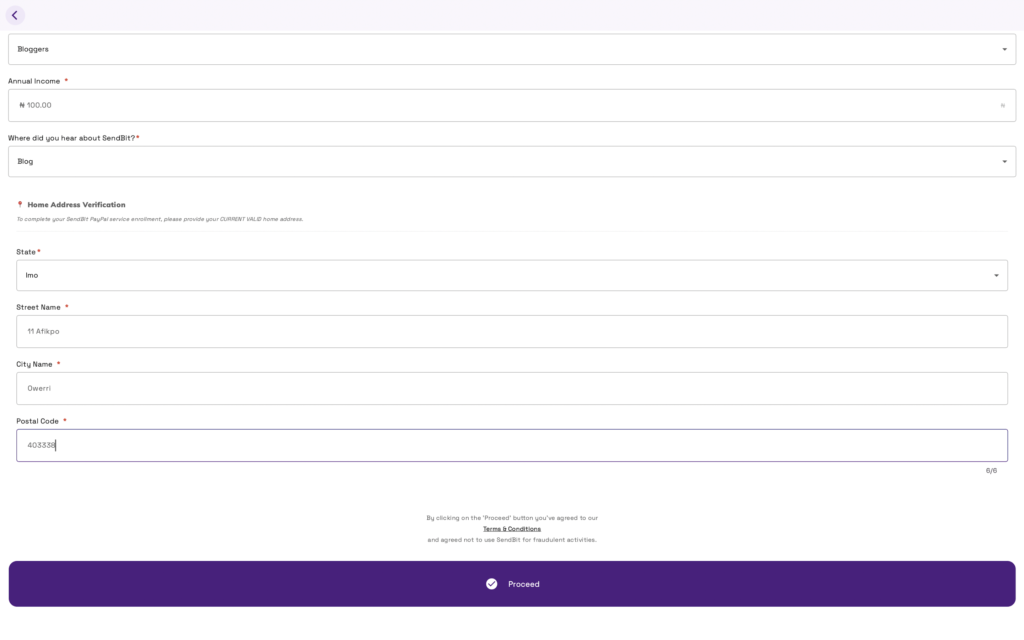
- Postal Code
After providing the above information, click on ‘Proceed’.
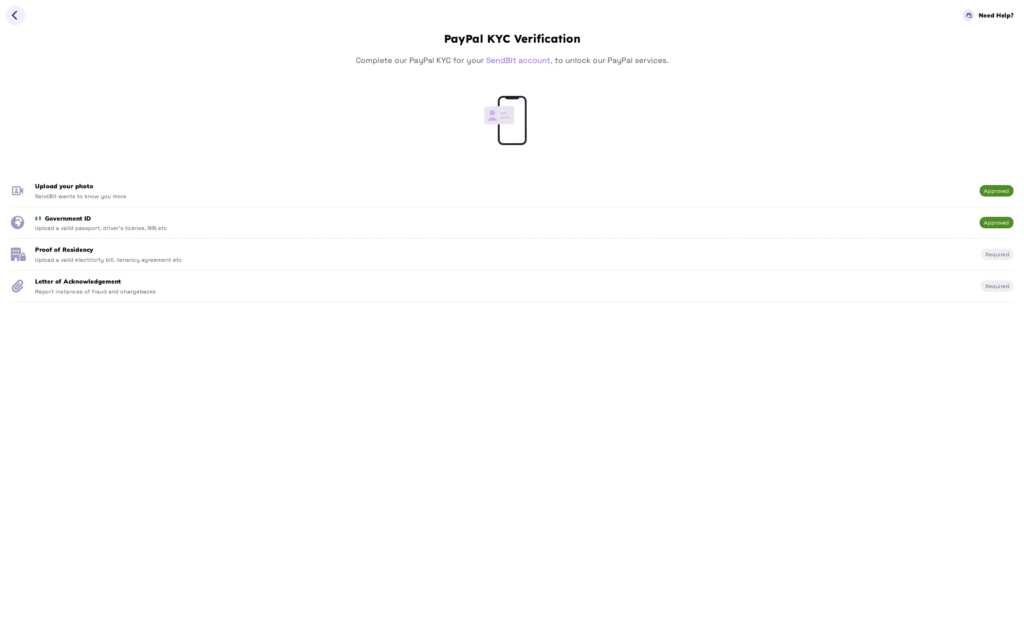
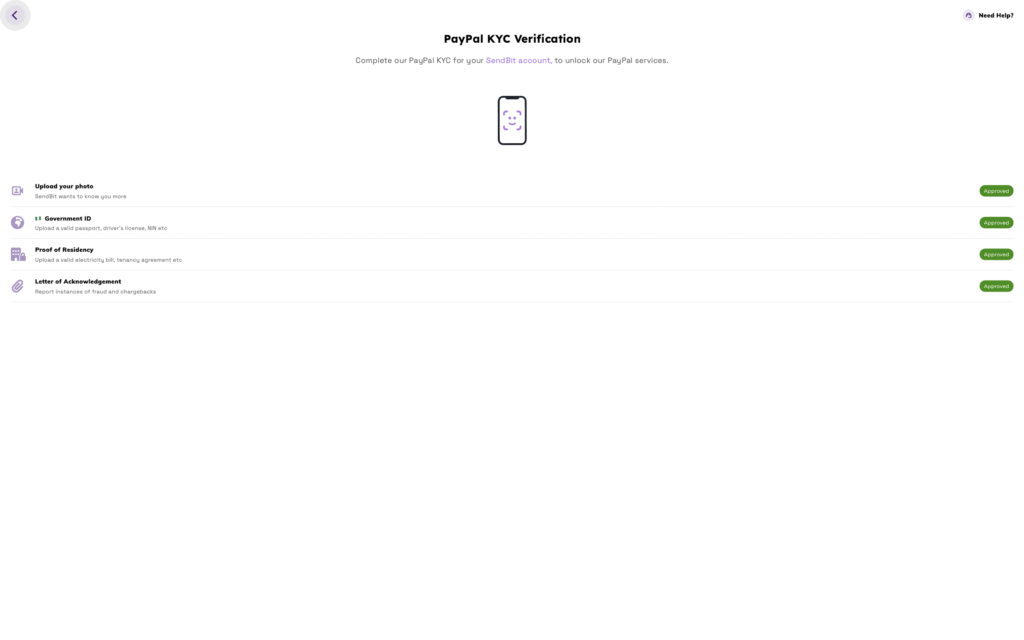
Step 3: Complete Your KYC:
The next step is to complete your KYC. Your KYC verification allows you to receive up to $2000.oo monthly. It’s the only way to unlock the PayPal funds process.
To verify your KYC, you must provide four crucial information:
- Your photo
- Upload any Government ID like NIN, a valid Passport, or a driver’s license.
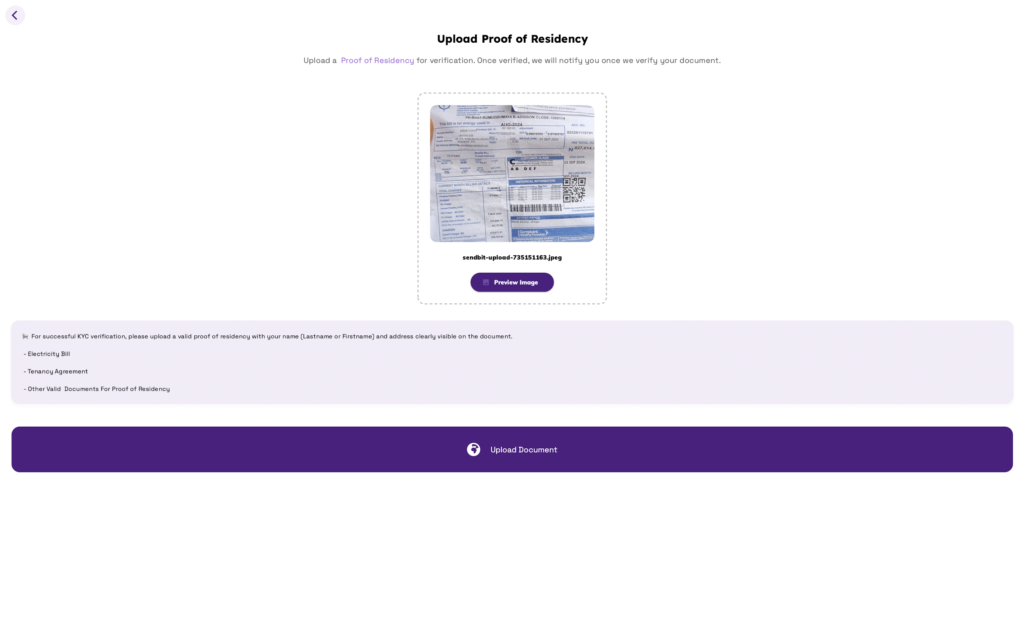
- Upload proof of residency, like your electricity bill or letter of acknowledgement.
- Letter of acknowledgement.
Once you upload all the necessary information, the system takes a few minutes to verify your KYC. Once you are verified, you can process it with your PayPal payment.
Completing our KYC verification allows you to have access to or unlock SendBit PayPal services. Once all your uploads are approved, you can create your PayPal invoice for your transaction.
Read Also: 10 Benefits of Online Invoicing Software
Step 4: Create a PayPal Invoice
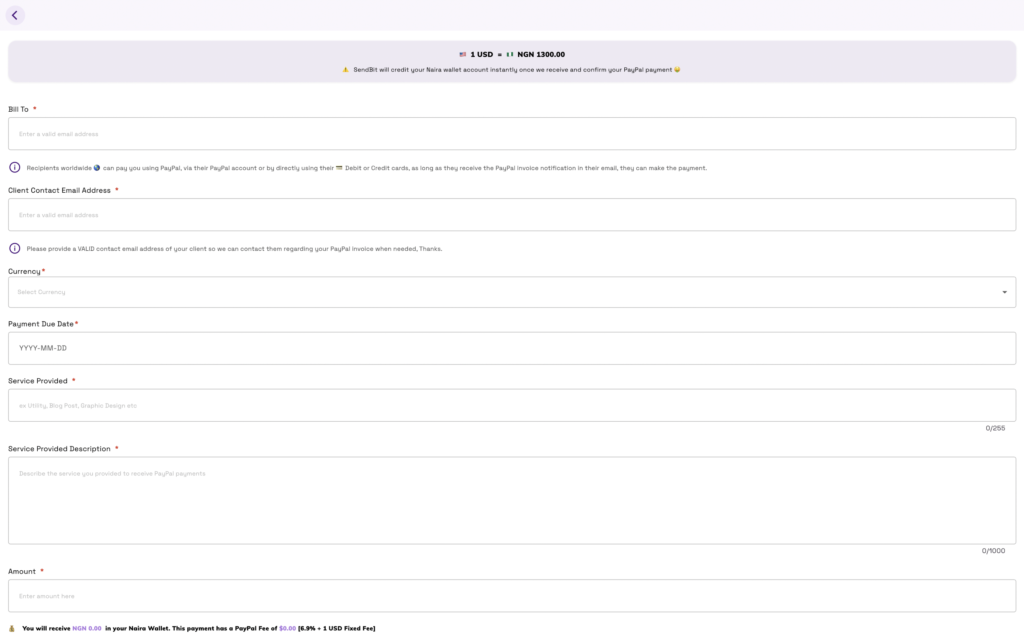
After KYC verification, you can proceed to create a PayPal invoice. Just click on ‘Create PayPal invoice’, and the page will show. You are to fill in:
- Your email address (Valid address)
- Recipient email address (Valid address)
- Currency
- Payment due Date
- Service provided
- Service provided description
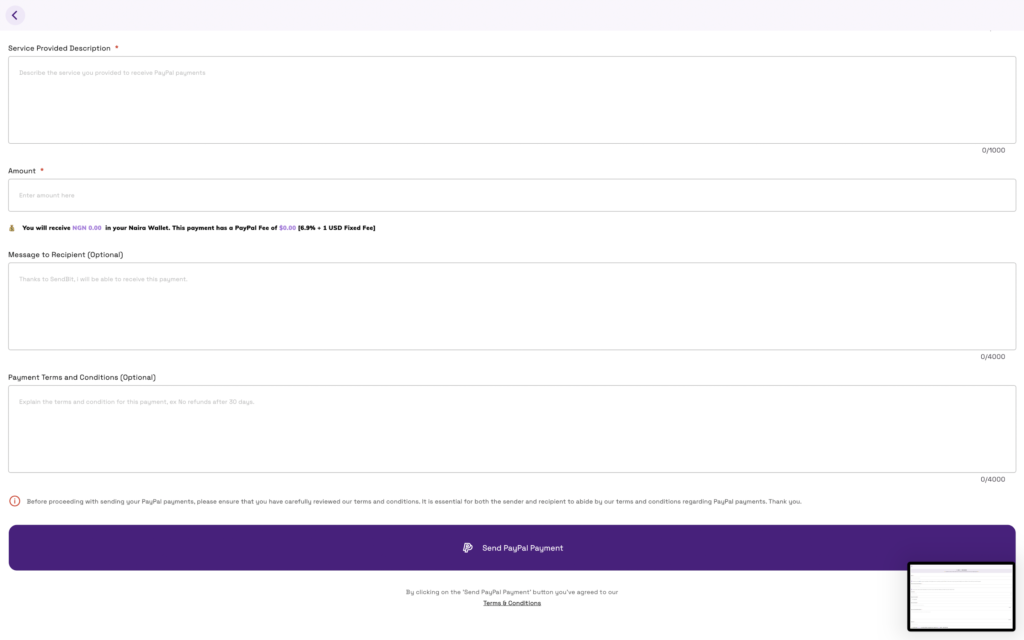
- Amount
- Message to recipient
- Terms and conditions of payment
After filling out the form, click on ‘Send Payment. ‘ Note that it’s important to review the terms and conditions of payment before sending payment.
A summary of your payment invoice will be provided to let you know if the process is completed. The invoice carries your invoice link, reference, transaction ID number and a confirmation link. Immediately after you create an invoice, your recipient receives an email notification.
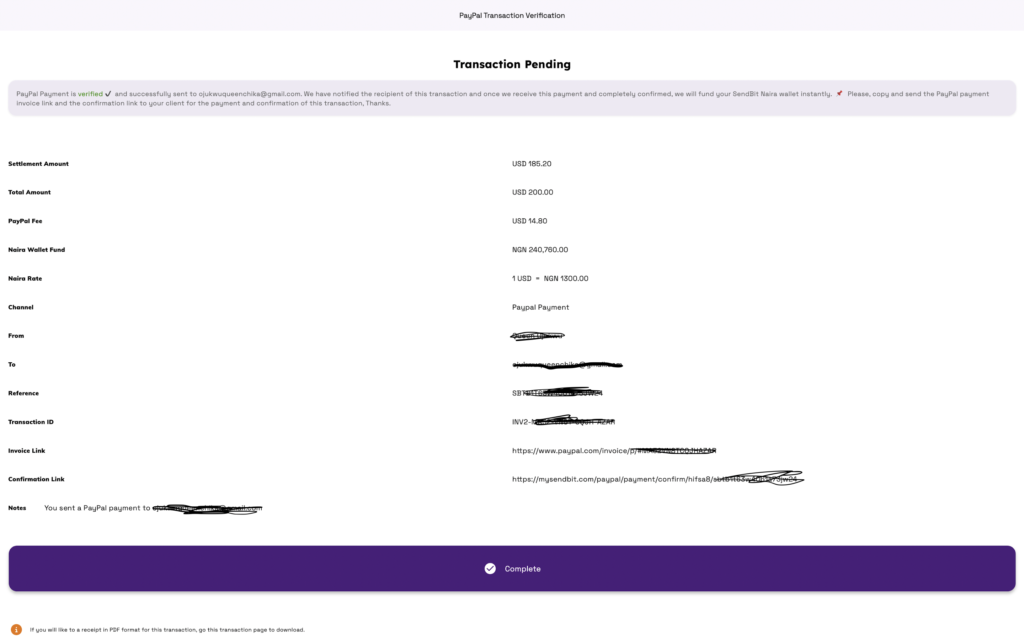
Conclusion
With the above steps, you can create a PayPal invoice for that transaction right now, and your recipient will receive it via instant mail.